
In a nutshell – Step by step easy instructions to make your own waxed fabric. It can be used instead of cling film to keep food fresh.

If you like this tutorial and want more ideas to reduce your plastic waste please check out the Sustainable Summer Workbook. It has 42 easy ideas to make and do that the planet will love.
Click here to find out about the Sustainable Summer Workbook
Last year I traded my graphic design skills for some lovely goodies from Boobalou. You can read about how much I love their reusable bottles if you like, it’s been almost 4 months since I bought a one use plastic bottle now!
In my very environmentally friendly package from Boobalou was some Abeego reusable food wrap. The description says “Abeego is a wrap which protects food while letting it breathe. It’s flexible and slightly adhesive so it can easily be shaped around food and bowls or folded into packages to store food at room temperature, in the fridge or the freezer.”
The waxed cloth food wraps are a great alternative to cling film if you are worried about potential health hazards of plastic leaching into your food. There are no conclusive figures to the amount of time plastic wrap takes to biodegrade because of the huge list of variables in heat and light in our landfills. Light will break plastic into smaller chunks of plastic but there is decent evidence to suggest that plastic never decomposes. Cotton is the most biodegradable textile and can take less than 6 months to compost. If the cotton has polyester in it it will take much longer.
I’ve been using the Abeego wraps for a couple of months now and the more I use them, the more I see uses for them. I wrap them around things to store in the fridge and I fold them over bowls to stop the cats from investigating what is in them. What I really like about them is that moment of mindfulness you get when you hold the waxed cloth around the food for a few seconds so it heats and seals a little. It makes me feel like my ingredients are loved and cared for and it forces me to slow down for tiny moments through the day.
The only problem with them is that I don’t have enough of them.
So, in the interests of saving money and possibly finding a solution for easy to make and useful presents for people, here are my experiments in making reusable food wraps. They do not contain all the ingredients that the Abeego ones have, but they are a cheap and easy alternative and so much better for the environment than cling film.
You will need:
- Fabric squares or rectangles. Choose lightweight fabric, like sheeting. I used 100% cotton.
- Wash the fabric on a hot wash first to make it easier for the wax to impregnate and to get rid of any toxic coatings.
- Natural beeswax pellets. I bought 100g for £2.99 including postage from www.livemoor.co.uk. They came within a couple of days too. You will need a heaped dessertspoon for each 12 inch square so 100g will cover about a meter of fabric 140cm wide. This will vary depending on your fabric.
- A baking tray – £1 from Poundland. Get the biggest non stick you can. I didn’t know if I could cook on the tray after making wax clothes but I think with a non stick you could easily wash it.
- A stiff brush – you won’t be able to use it for anything else after this so it can be a cheap one.
- An oven, warm place or hairdryer. I made mine at the same time as baking a veg crumble.
NOTES:
I don’t have a microwave so if anyone tries making waxed fabric in one please let me know how it goes.
I will try this again with parafin wax so they are suitable for vegans.
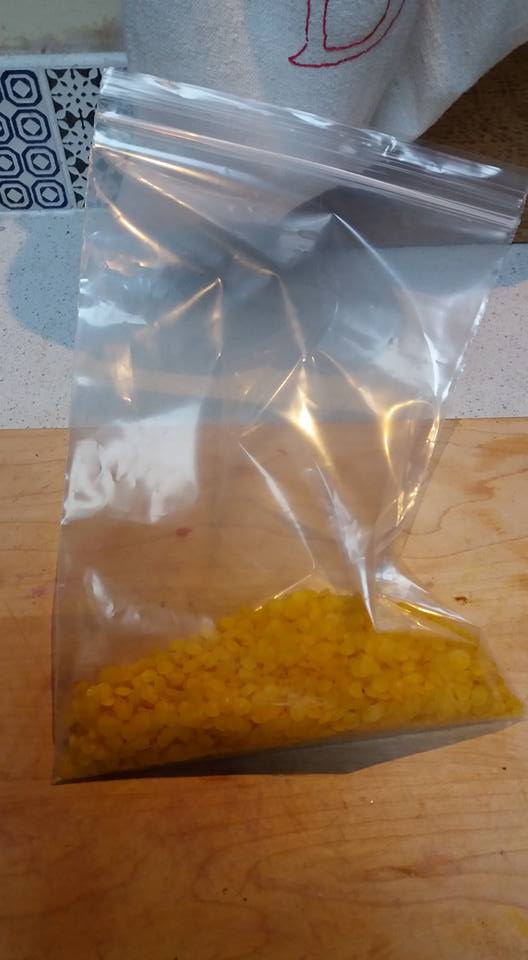
100g Beeswax pellets – you could use a block and grate it but this is the easiest way.
Prepare the fabric
Cut the fabric in the size you want and put on the baking tray. Don’t worry about hemming or pinking the edges, the wax will seal it all. If it is too big for the tray just fold it over to start with.
If the fabric is new it will absorb better if you wash it first. I didn’t bother with that though.
I made some 12 inch square, some 10 inches by 8 and some 8 inches by 6. The largest square can cover a big block of cheese.
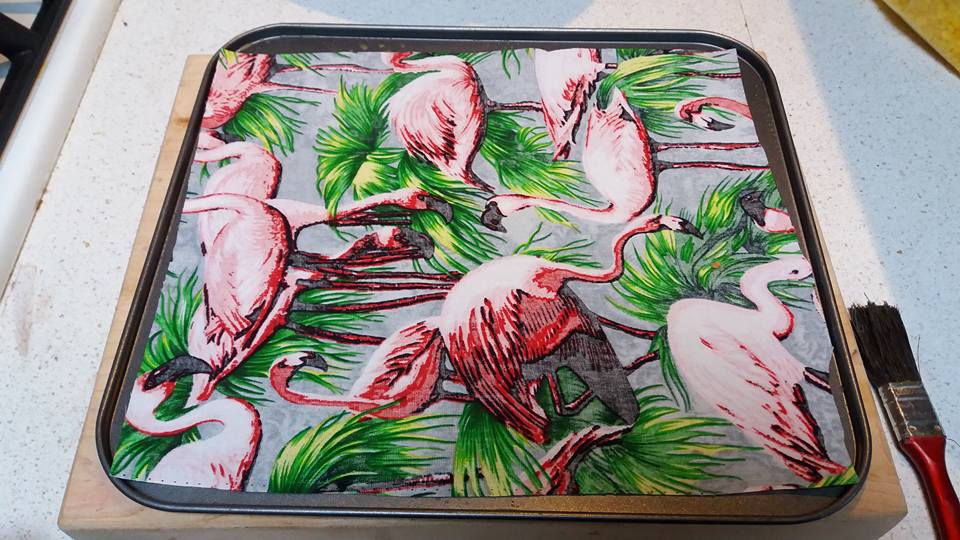
It doesn’t matter which way up the fabric goes onto the tray because you are going to turn it over.
Measure the wax
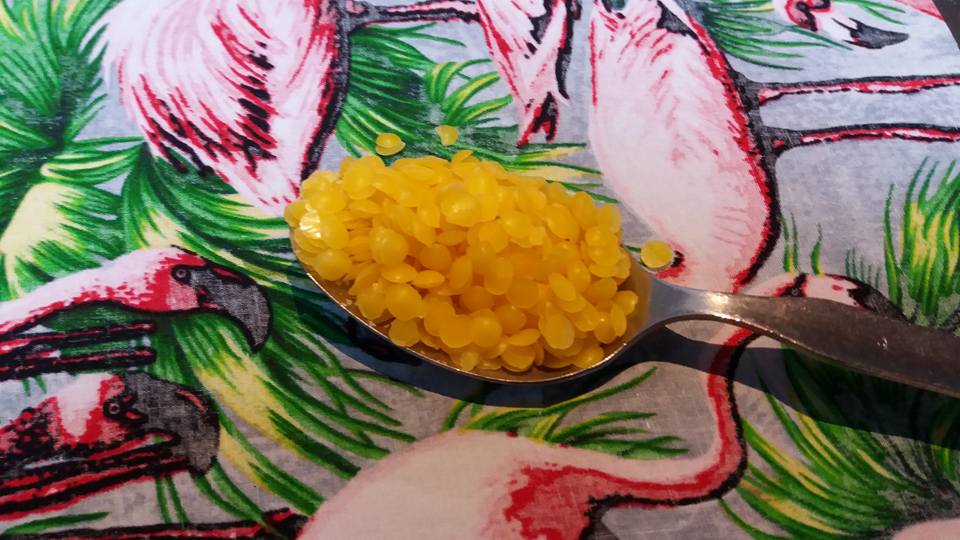
I used about a heaped dessert spoon per 12 inch square of fabric. You can always add more.
Sprinkle the wax over the fabric
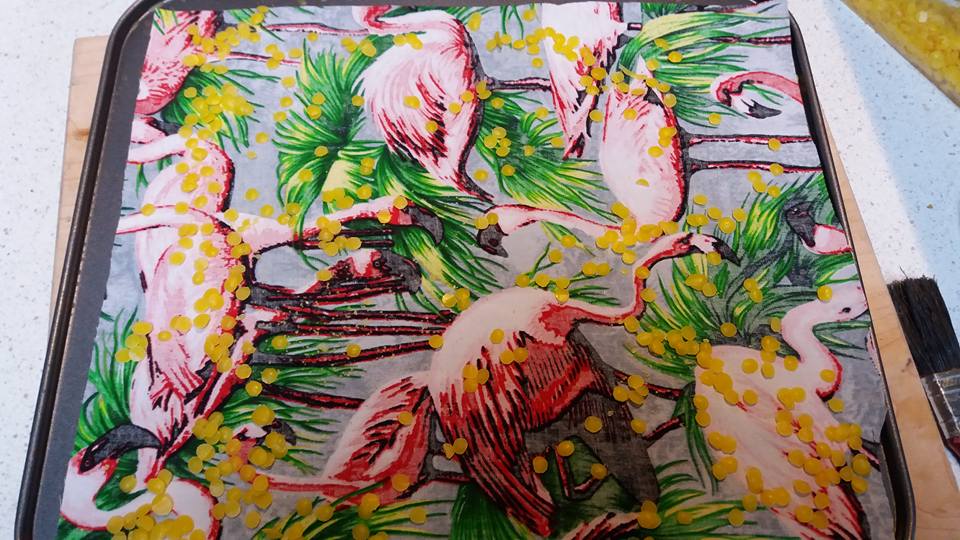
This is not an exact science, just try to get the pellets evenly over the surface of the material.
Heat to melt the wax
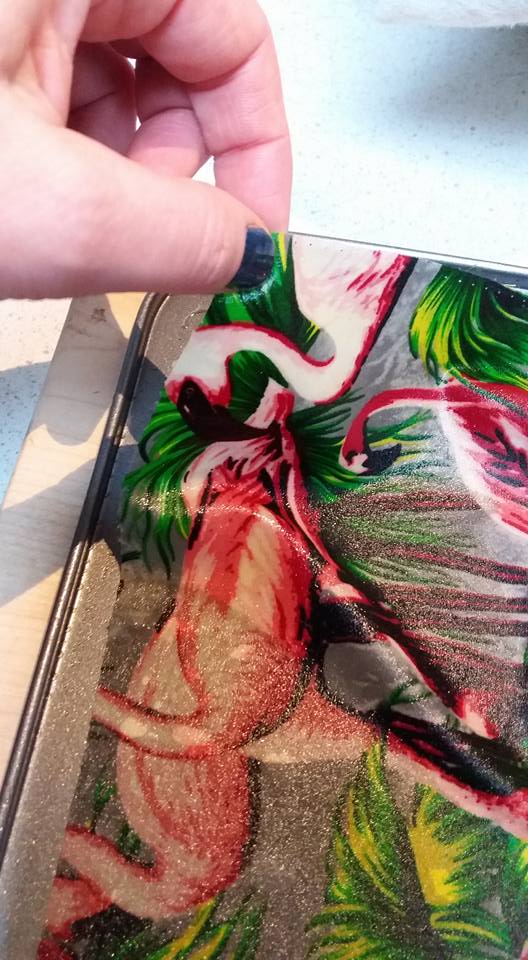
In a medium oven the wax was melted in just under a minute.
Lift it up by one corner and turn the fabric onto the other side, you can mop up any melted wax at the same time.

If there are any patches that don’t look waxed add a few more sprinkles and put back into the oven for another minute until they melt.
Make sure the wax is even
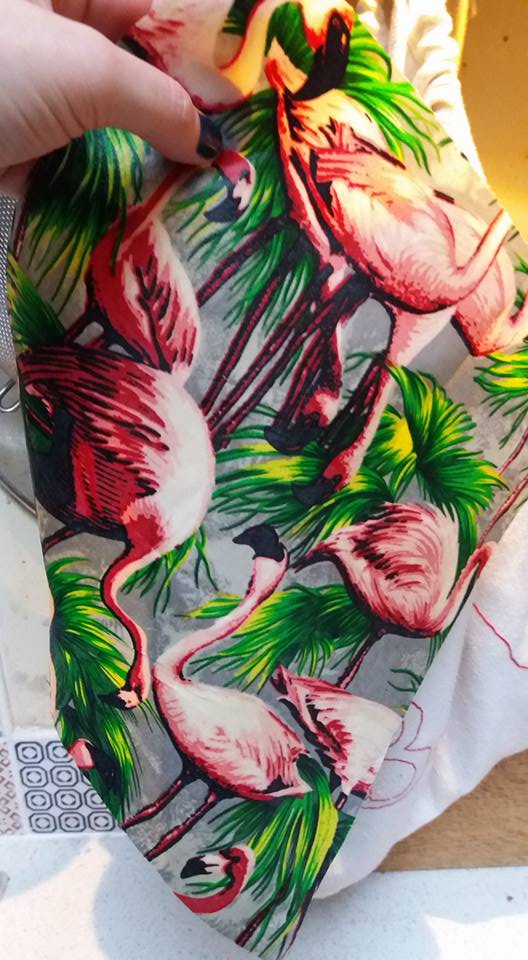
Use the brush to squash the wax into the fabric if it looks like it needs it then lift the waxed fabric out of the tray.
It will be dry and useable very soon so you can either just hold it for a bit or drape it over something cold.
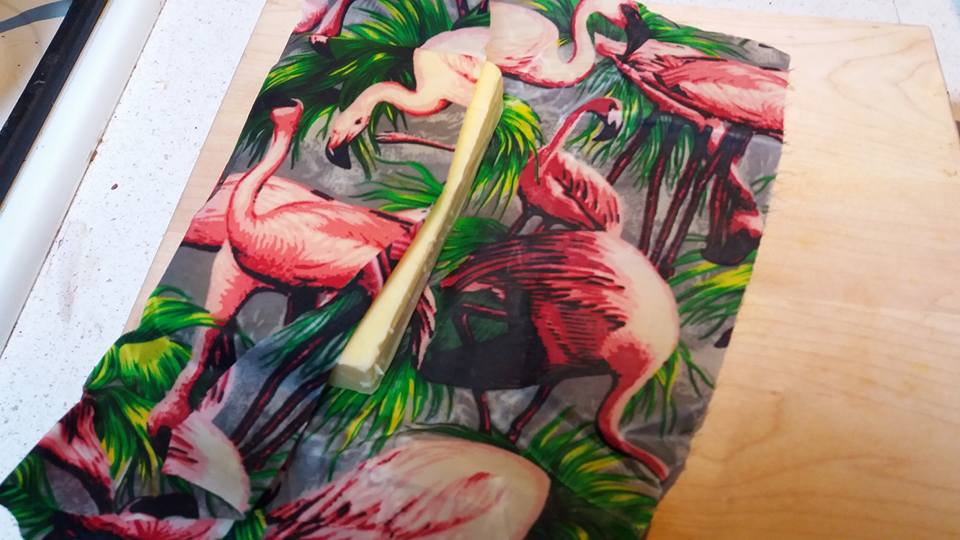
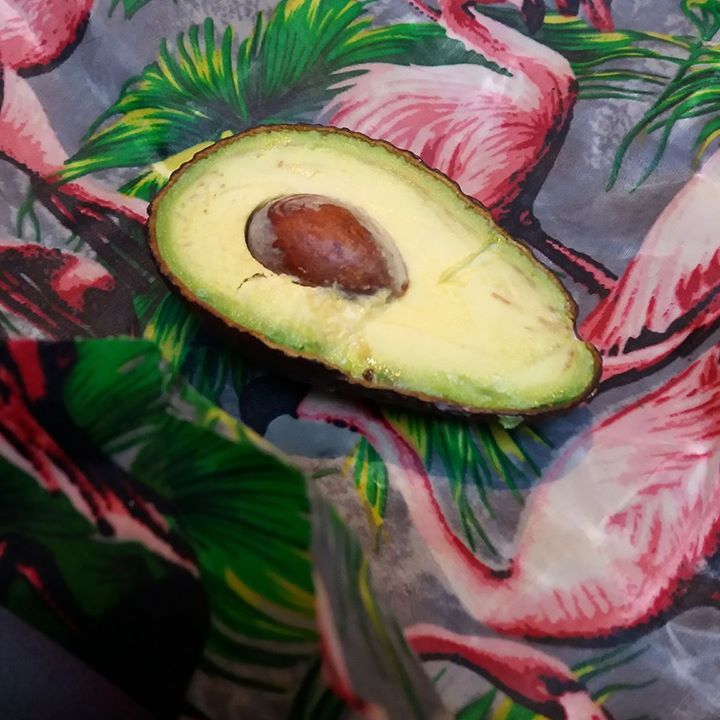
Use it to wrap cheese, fruit or vegetables. You can only wipe it clean with a warm sponge so don’t use it to store meat or fish.
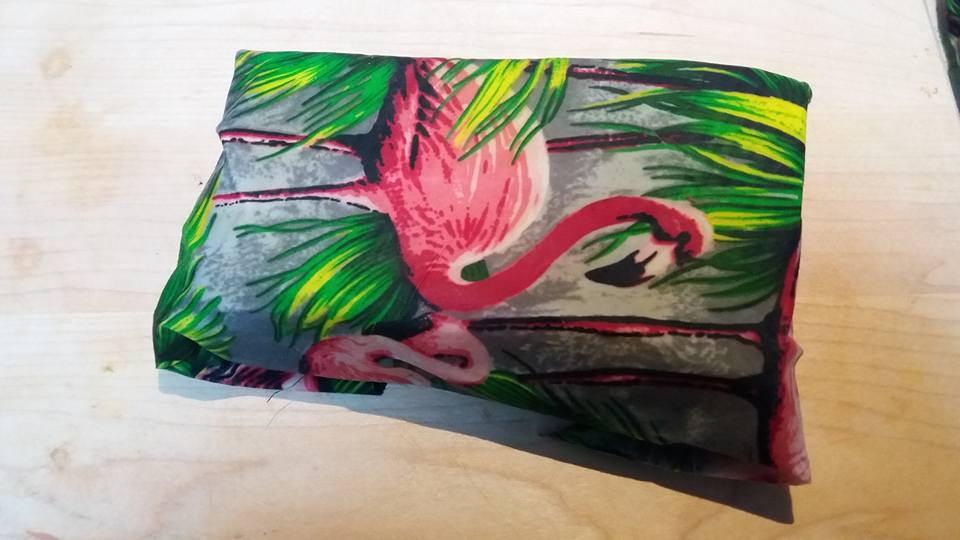
If you were organised you might be able to find fabric with pictures of veg or fruit on so you could tell what was in the wrapper when you put it in the fridge.
Caring for your waxed fabric
- Keep it folded lightly until you need it.
- Store in a cool place.
- Wipe clean with a warm damp soft sponge
- Don’t put it in the microwave, oven or anywhere warm unless you need to re-wax it.
- Don’t store meat or fish in the waxed fabric.
- To mold it around anything just hold it in place with your hands for a few seconds to make it more pliable.
- If it gets too cracked pop it back in the oven on the baking tray again.
- If it reaches the end of it’s life you can compost it.
Disclosure – If you follow any of the links to Livemoor to get wax they will go through to their Amazon shop and I will get a tiny commission.
Hi. I'm Lisa
Less-waste is where I share the little things I find that help me lead a more ethical life, on a super tight budget.
I also run less-stuff for people who love their belongings and want to declutter gently.
My social media accounts represent both websites.
- You can find me on Instagram if you want to see snapshots of real life on my feed.
- I’m on Twitter and try to join in on chats about organic food, gardening and living ethically.
- The Facebook page is where I share info from others.
- I’m also on Pinterest where I've gathered really good resources to help us enjoy seasonal food. You will find boards about productivity and crafting there too.
- You can find me on YouTube, testing eco-friendly products and attempting to film without being interrupted by a cat.