
Decluttering Your Busy Garden
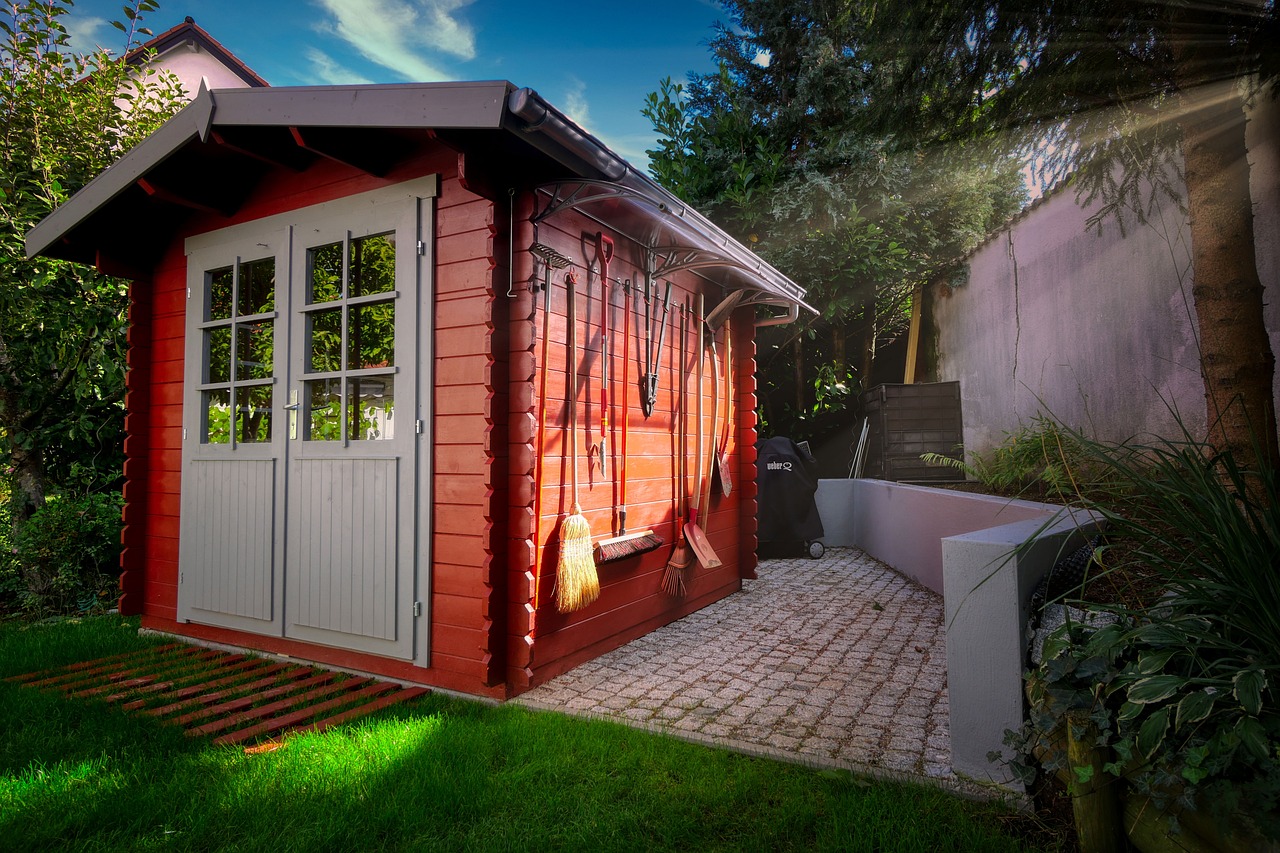
Image by Albrecht Fietz from Pixabay
It’s always crazy to see how something that is meant for serenity can easily turn into something that creates mental clutter when you look at it. If you have a busy garden that is in need of some decluttering then this post is for you.
Step 1: Assess and Plan
Begin by walking through your garden and taking note of the areas that need attention. In this phase, you will identify items that are no longer useful or are taking up unnecessary space- remember, hoarding creates clutter. Create a plan that breaks the task into smaller, manageable sections that will become easy for you to tackle. If you sometimes only look at the big job you tend to forget that it can be broken into smaller bite-size pieces. For example, you might start with the shed, then move on to garden beds, followed by patio furniture and then you can jump onto the jungle that leads out from all of these sections.
Step 2: Gather Your Tools
If you want this process to be as smooth as possible then start off by gathering the essential tools such as gloves, pruning shears, and a wheelbarrow- if you find tools along the way that don’t have use anymore then chuck it away.
Step 3: Declutter in Stages
For this step to work effectively you have to start with one area at a time to avoid feeling overwhelmed. Best would be to start with clearing out old, broken, or unused items- if it is sentimental then take a picture of it then throw it out. For example, check your shed for rusty tools or damaged pots that you haven’t used in years but were too lasy to get rid of or sort them first. Sort items into three categories: keep, donate, and discard- easy as that. Remember, the goal is to create a functional and inviting garden space, so be honest about what you really need and what your space needs.
Step 4: Organise and Simplify
An unorganised garden or tool shed can become as bad as toxic friends. After removing unnecessary items, organise what remains then make use of shelves, hooks, and storage boxes to keep tools and supplies tidy as well as visible to avoid the mission of having to look for stuff all the time. Group similar items together to make them easy to find. For instance, for plants, consider whether you have too many of one type that might be overcrowding your space. Prune or transplant as necessary to create a balanced, aesthetically pleasing garden.
Step 5: Use Skips for Disposal
Once you’ve sorted everything and placed your piles, it’s time to dispose of the junk using waste management. Different-sized skips can be incredibly helpful here so once you’ve determined the size of your pile you can go for anything from a 4 yard skip to a 16 yard skip.
Step 6: Maintain Regularly
This is where many can fall off the wagon and end up worse than when they started. To keep your garden clutter-free, establish a routine maintenance schedule and have rules of putting stuff back after use. Regularly prune plants, tidy up tools after use, and check for items that can be discarded or donated- be consistent and stay persistent.
Conclusion
Decluttering your garden doesn’t have to be a scary task that feels like climbing a mountain. By taking a gentle, step-by-step approach you can transform your busy garden into a serene, organised space you actually want to spend time in.